- Design Ideas
- Cities
- Trends
- Guides
- Price Calculators
- Interior DesignersNEW
- Our Portfolio
- More
- Home
- Trends
- Furniture And Decor
- Paint And Color
- How To Paint A Wall Yourself
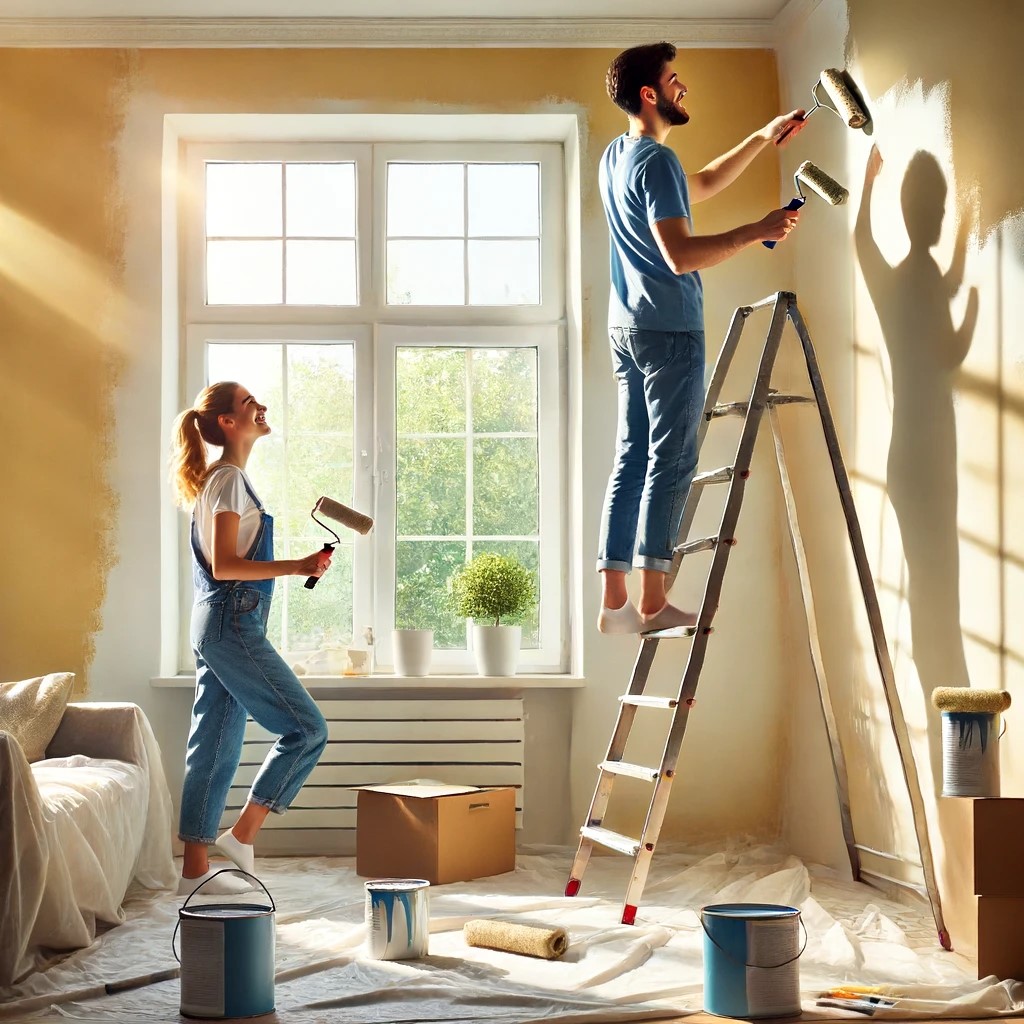
Unleash Your Inner Artist: A Guide to DIY Wall Painting

Home wall painting, once thought to be a task best left to the professionals, is now an accessible and rewarding DIY project. Painting your walls can be tempting when your home feels outdated and boring. However, taking on this task yourself requires great care and attention. If you are seriously thinking about painting the walls in your home, you will need to approach it with caution and preparation. The decision to do your home’s interior paint job is not taken lightly, as it can have significant implications if not done properly.
Table of Content
Whether you aim to refresh a tired room, create an accent wall, or simply enjoy the satisfaction of a DIY project, home wall painting is an achievable and enjoyable task with the right guidance.
Understanding how to paint a wall properly can make all the difference in achieving a professional-looking finish you will be proud to show off. It is straightforward, does not cost much, and even if things go awry, rectifying it is simple. Lucky for you, we have just the right tips. So, if you are wondering how to paint a wall, here’s our step-by-step guide.
Preparation Tools and Things That You Will Need
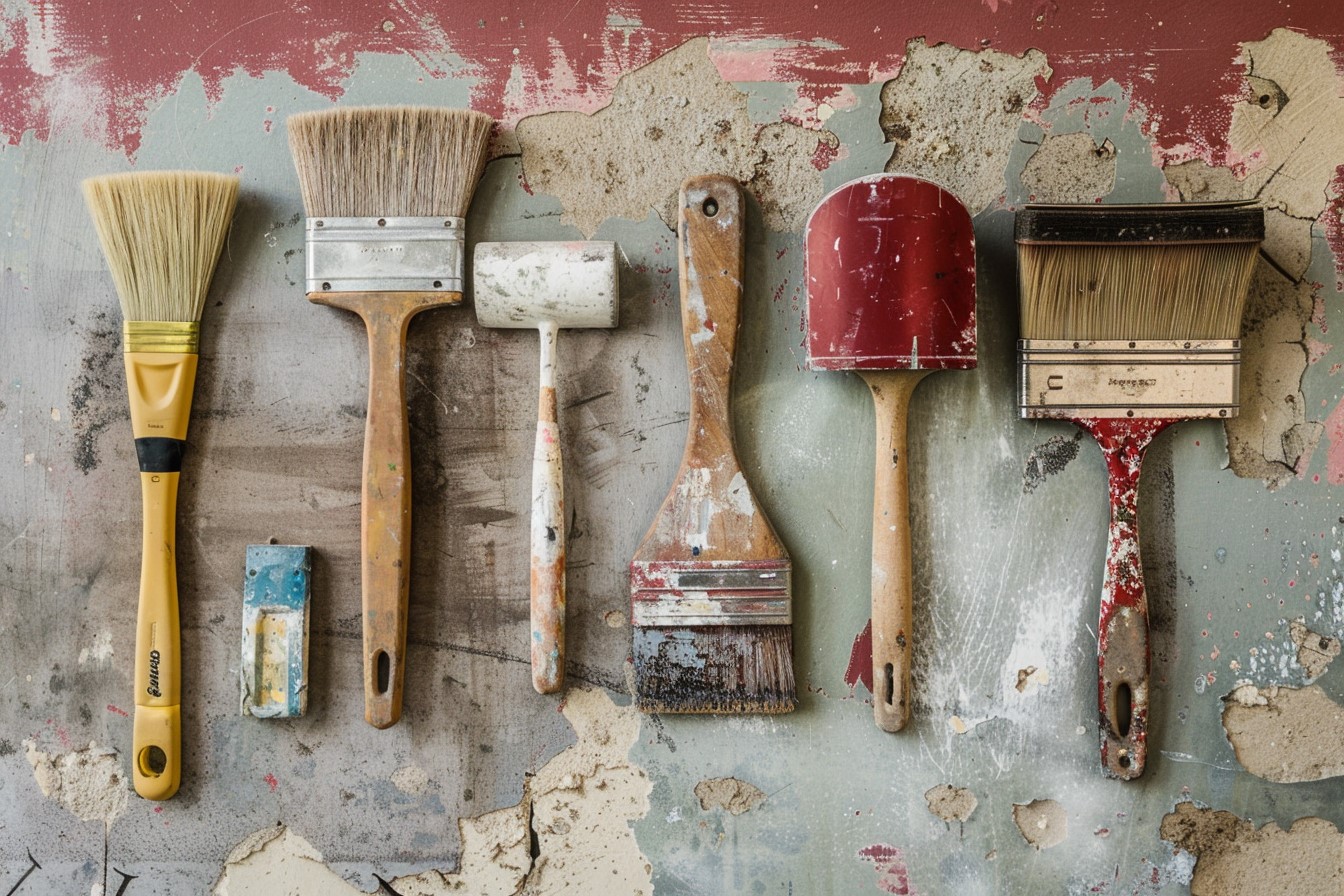
Preparing the wall is the first and most important step before painting. As tempting as jumping straight to the painting process may be, ensuring the wall is properly primed and ready is essential for achieving a polished, professional finish. Gather all the necessary tools and materials- this is the best way to ensure your wall looks fresh and revitalised when the job is done.
- Painter's Tape: It will be required for masking off areas you do not want to paint, such as trim, windows, and doors.
- Sandpaper or Sanding Sponge: To smooth out any rough spots or imperfections on the wall.
- Spackle or Joint Compound: For filling holes, cracks, and dents.
- Putty Knife: To apply spackle or joint compound.
- Cleaning Supplies: A mild detergent, sponge, and water for cleaning the walls before painting.
- Paint Brushes: Various sizes, including an angled brush for cutting around edges and corners.
- Paint Rollers: Different nap lengths depending on the texture of your walls (short nap for smooth surfaces, longer nap for textured walls).
- Paint Roller Extension Pole: To reach higher areas without a ladder.
- Paint Tray and Liners: Hold and evenly distribute paint on your roller.
- Stir Sticks: Mix the paint thoroughly before use.
- Primer: This is to prepare the walls, especially if they are new, heavily patched, or changing from a dark to a light colour.
- Paint: Choose the appropriate type and finish for your room (e.g., matte, eggshell, satin, semi-gloss).
- Ladder or Step Stool: To reach high areas safely.
- Gloves: To keep your hands clean and protected from chemicals.
Step by Step Process of Painting a Wall
Choosing a Colour that Inspires You
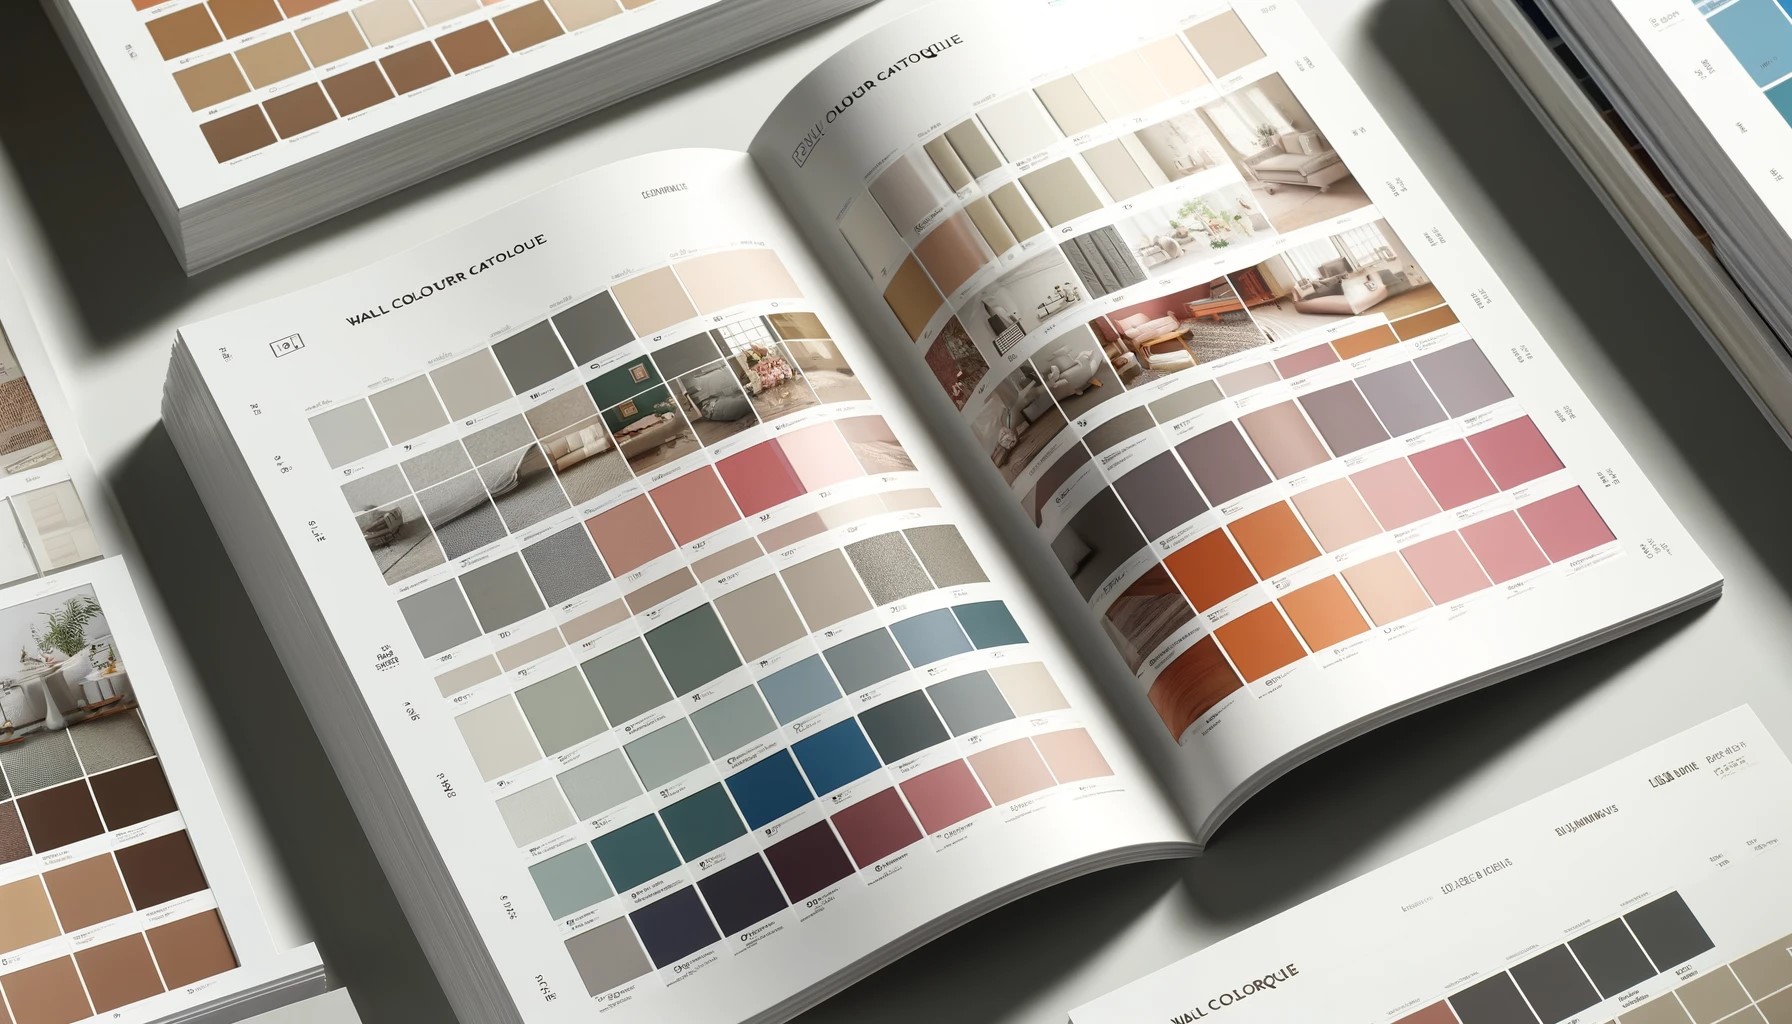
While looking at swatches, in-store can be enjoyable, it is important to bring home a sample can to figure out the best colour for your space truly. Apply a small amount of paint to your wall and see how it looks at different times, such as morning, afternoon, and evening, and in various lighting conditions, like a dark corner or near a window. This will help you ensure that you will be just as pleased with the colour in the morning as you are in the afternoon. Begin by deciding on the overall colour qualities you prefer. Are you looking for a warm or cool tone? Do you want something neutral or more vibrant? Consider how the new shade will harmonise with your existing furniture or artwork. This thoughtful approach to simple wall painting at home will help you select a colour that enhances your space beautifully.
You may also like!
| Pista Green Colour Combination | Stylish Pista Green Colour Combinations for Home |
| Rare Colours | Rare Colors that Will Make any Space Look Special |
| Red Colour Combination | Vibrant Red Colour Combinations for Your Home |
| Spectacular Colour Combination | Latest Wall Colour Combinations for Modern Home |
Calculate the Amount of Paint Required
Whether you are painting a small powder room or the interior of your home, a general guideline is that one gallon of paint covers about 400 square feet. When learning how to paint a wall yourself, it is important to consider that painting over a dark charcoal grey wall with a lighter colour will require extra paint to achieve full coverage. Deep, rich colours often need more coats than lighter shades. For highly textured surfaces, buying a bit more paint than you would for smooth walls is wise. While glossier finishes offer slightly better coverage, the difference is usually insignificant in affecting the amount of paint you need.
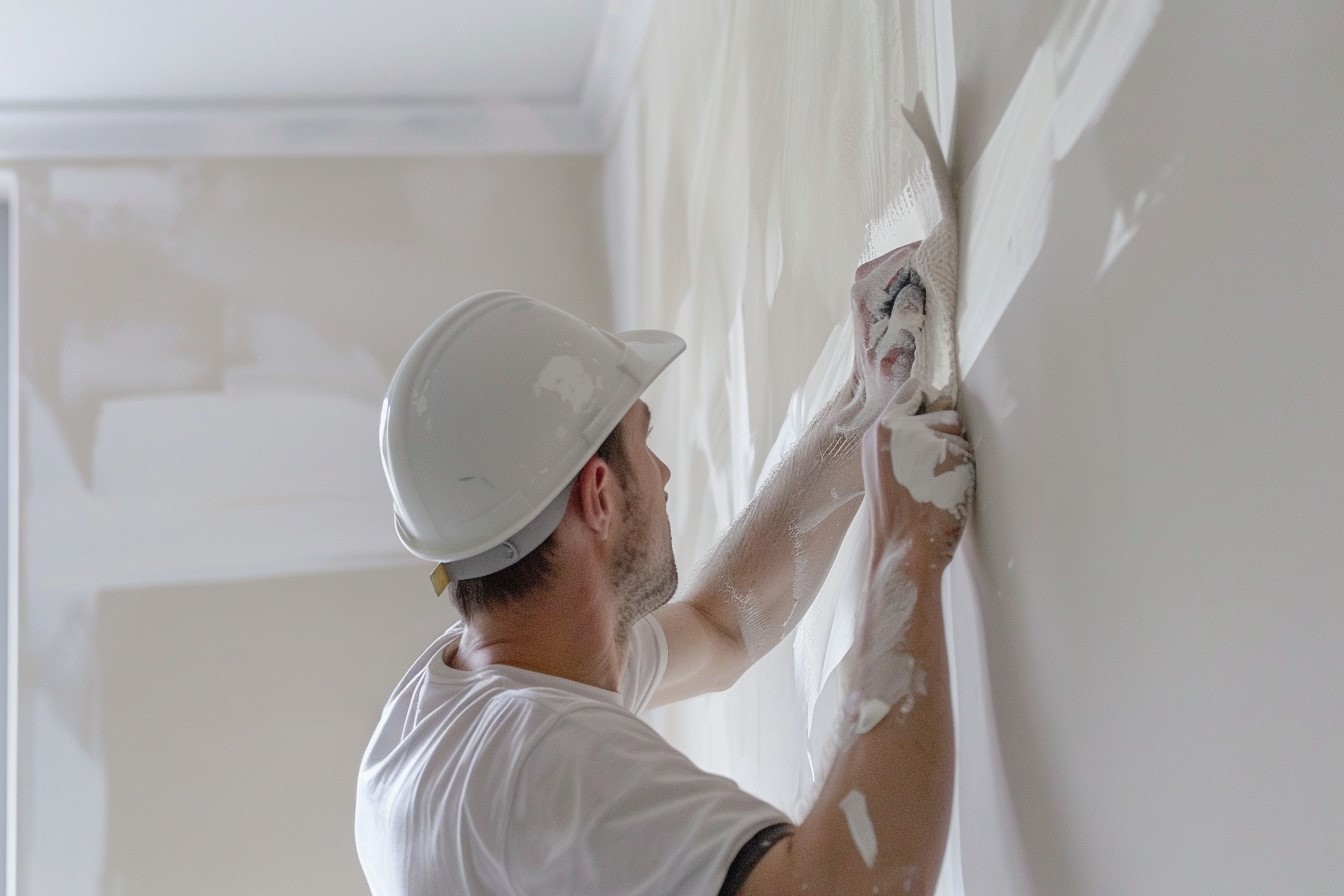
Cleaning the Walls
To remove cobwebs and dust from the corners of the ceiling that are difficult to reach, use a broom. If the paint on your walls is washable, use a big cellulose sponge and some water combined with a small amount of dish soap to remove any dust, grime, and oil. Clean the walls with a damp sponge if the paint cannot be washed. To get rid of any soap residue, finish by wiping down the walls with a damp towel.
Taping Your Trim
Use painter’s tape to cover every part or object you do not want to paint. Protect the trim at the top and bottom of the wall and around doorways and windows. Be sure to cover hardware, electrical outlets and switches, doorknobs, ventilation trims, mouldings, wall details, and any other areas you want to keep paint-free. Following these steps to paint a wall will help you achieve a clean and professional finish.
Priming Up the Walls
Once the walls are prepped, choose our Rainguard Primer or Cement Primer, depending on your wall type and purpose. Pour sufficient primer into a tray, filling the well at the bottom. Use a roller to apply the primer evenly from floor to ceiling, ensuring complete coverage. Applying primer is an important step in painting a wall at home, as it helps the paint adhere better and reduces the number of coats needed. Allow the primer to dry for at least four hours before proceeding.
Apply Paint Using a “W” Pattern
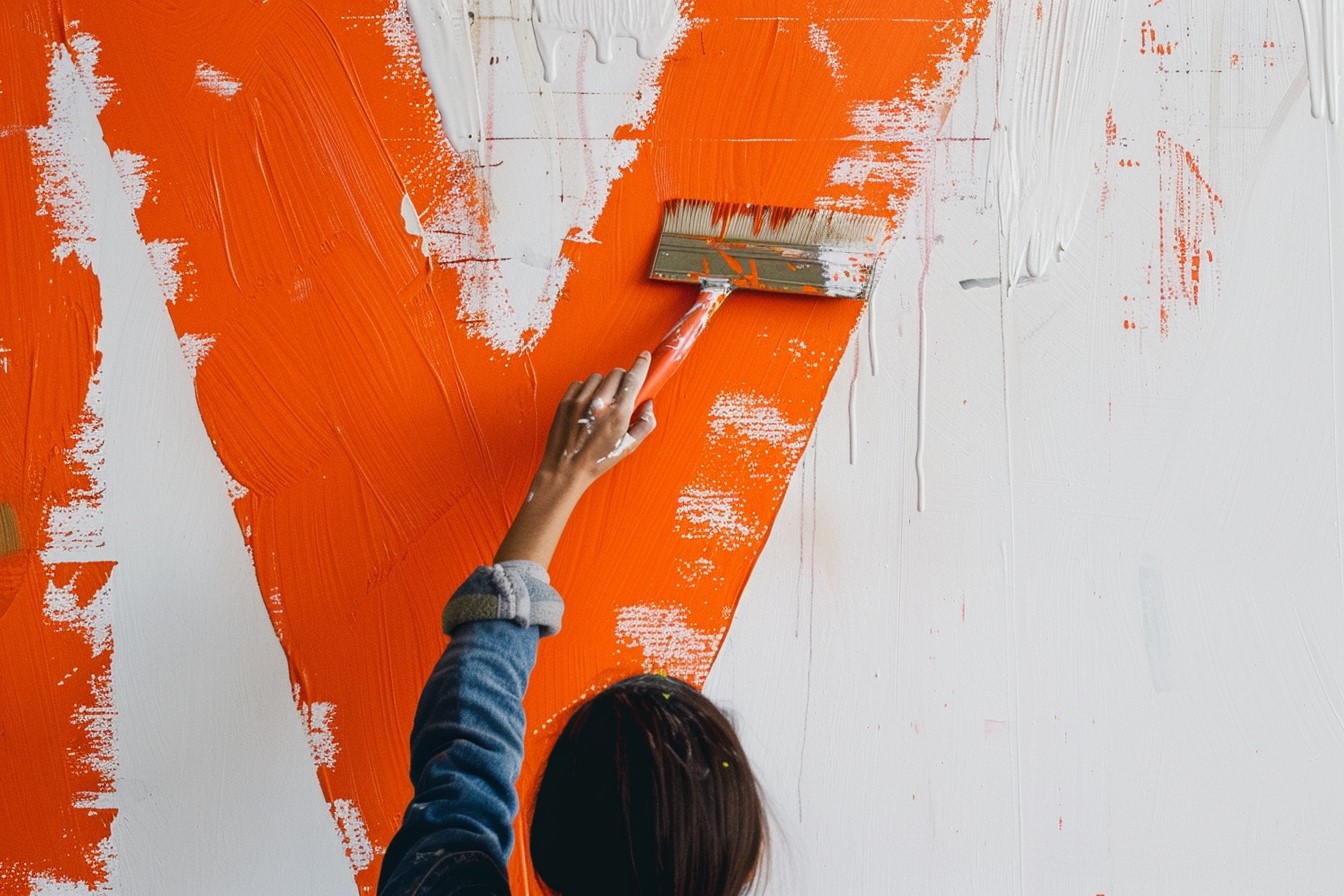
Pour paint into a tray and dip your roller in, ensuring you remove any excess paint. Start by applying the paint to the wall in a 3-by-3-foot “W” shape. Move back over the “W” without lifting the roller to fill empty areas until that wall section is fully covered. Repeat this process, adding more paint to the roller until the wall is painted. To make the job easier and quicker, use an extension pole'a common technique used by professional painters'to help refill your roller and reach both high and low areas effortlessly. These are essential steps to paint a wall effectively and efficiently.
Removing Painter’s Tape
Removing the painter’s tape at the right time is crucial for achieving a clean, professional-looking finish. Ideally, you should peel off the tape while the paint is still wet, typically about an hour after you finish painting. Leaving the tape on for too long is one of the most common mistakes people make when painting, as it can result in the inadvertent removal of dried paint along with the tape. Following this simple tip, you can ensure that your painted edges are crisp and well-defined, creating a polished, high-quality appearance. The key is to act quickly while the paint is still in its fresh, malleable state. This way, you can cleanly lift the tape without risking any unwanted paint removal or uneven edges. If you are incorporating beginner simple wall drawings into your project, applying the same tape removal technique can help maintain the sharpness and clarity of your designs.
Let the Paint Dry
After coating the wall with paint, it is time to be patient and let it dry overnight. Take one final look to ensure no thin areas, bumps, or drips before wrapping up your work for the day. Resist the temptation to touch the walls, as different paints dry at varying speeds – even if they feel dry to the touch, they may not be ready for another application. Latex-based paints typically feel dry within an hour but require four hours before applying a second coat. Oil-based paints take around six hours to feel dry, and you should wait a full day before adding another layer.
Clean up
You have applied multiple layers of paint, but the job isn’t done yet. Remove the painter’s tape and collect the drop cloths, ensuring drips or spills have dried before moving them. Clean the brushes with soapy water for latex and water-based paints, while oil-based paints need mineral spirits. Use a painter’s brush to clean and reshape the bristles. If you plan to reuse the roller covers, use the curved edge of a 5-in-1 tool to remove the excess paint under running water (this tool is also great for opening paint cans, removing nails, and scraping).
You may also like!
| Hall Painting Designs | Unique and Simple Hallway Paint Design Ideas |
| Home Colour Design | Modern Home Colour Design Combination Ideas |
| House Painting Colour Design | Trendy Wall Colour Combination and Painting Ideas |
| PU Paint and Polish | PU Wood Polish and Paints for Interior Wood |
In a Nutshell!
There you have it! Your walls are transformed, and you did it yourself! Pat yourself on the back' you conquered the task of home wall painting all by yourself. As you stand back and admire your freshly painted wall, take a moment to appreciate the hard work and dedication that went into every brushstroke and roller pass. The vibrant or soothing hues now gracing your walls are a testament to your creativity and perseverance. Each layer of paint covers the surface, adding depth, warmth, and character to your living space. Your home is your canvas, and with each project, you add a new layer to the story of your space.
Are you dreaming of a colour makeover for your walls? Is your living space yearning for a splash of something new? Look no further than Interior Company’s inspirational catalogue! We offer a variety of unique and inspiring colour combinations that cater to every mood and personality, helping you create the perfect ambience in your home.
*Images used are for representational purposes only. Unless explicitly mentioned, Interior Company does not hold any copyright to the images.*
Wall Paint Design Ideas for You
- Theme
- Color
- Room Type
Ready for a home transformation?
Let our designers assist you!
Recent Posts


You will need paint, painter’s tape, drop cloths, brushes, rollers, a paint tray, a ladder, a putty knife, spackle or joint compound, sandpaper, and a damp cloth for cleaning.
Start by removing any furniture and covering the floor with drop cloths. Clean the walls to remove dust, dirt, and grease. Fill in any holes or cracks with spackle and sand the surface smooth. Finally, use painter’s tape to protect trim, windows, and other areas you don’t want to paint.
It is recommended to use a primer, especially if you’re painting over a dark colour, new drywall, or patched areas. Primer helps the paint adhere better and provides a more uniform finish.
To choose the right paint colour for your wall, consider the room’s lighting, existing decor, and the mood you want to create. Bring home sample cans and test the paint on a small section of your wall, observing how it looks at different times of the day.
Ideally, two coats of paint are recommended for an even and durable finish. However, the number of coats may vary depending on the quality of the paint and the colour you are covering.
Related Category
- Bathroom
- Bedroom
- Kitchen
- Living Room
- Walls and Texture